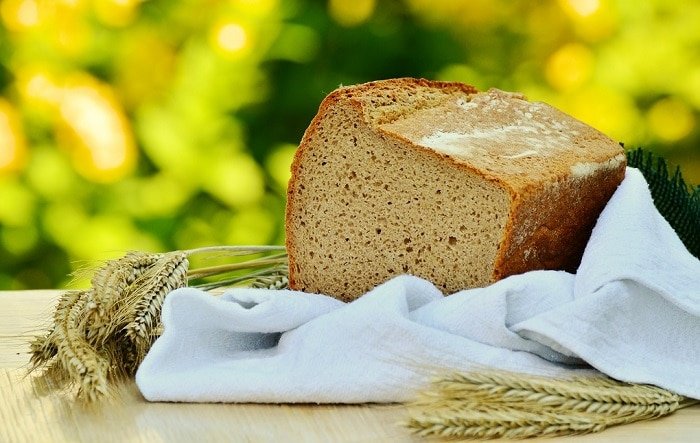
Looking back through British food history, you will find one constant. Whether used as bowl for pottage, torn off in chunks and eaten with cheese, or used as the basis for a sandwich, bread has had an undeniable place in our diets. Real Bread Week is an annual celebration, which means only one thing. It’s time to get kneading.
Did you know that if you had been a peasant in the Middle Ages, your daily diet would have consisted of about 2 lbs of bread? You might have had a tiny amount of cheese or butter to go with it, and perhaps a small bowl of pottage. But bread was your main food. Meat and fish were very much reserved for the wealthy.
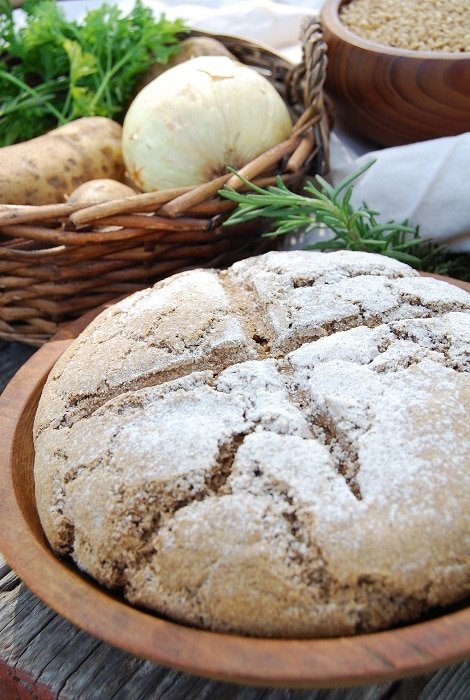
That bread would have been made with wholegrains. The most common, called Maslin, used wheat and rye. It was cheap and readily available. Oddly enough, centuries later people would consume commercially-made white bread. Wholegrain varieties were the more expensive alternative.
So what does Sustain, the organization behind Real Bread Week, describe as Real Bread? They define it as “made without the use of processing aids or any other artificial additives”. To quote several Yorkshiremen I recently overheard waxing lyrical about the subject: “Flour, water, yeast, and a bit of salt. It’s all you need.” Good handmade bread requires little more than a dab of butter to enjoy.
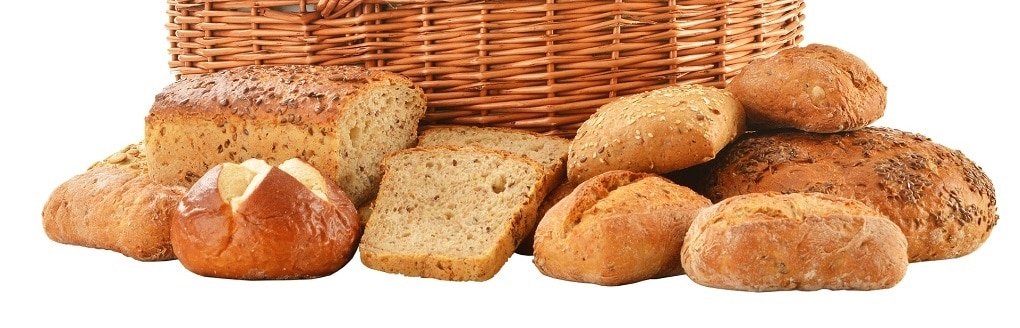
The Read Bread Campaign has a variety of recipes on their website. Below is a basic recipe for you to start with. Once you feel comfortable making bread, you can experiment with different flours, grains, and other flavours.

The Real Bread Campaign’s Basic Real Bread
500g stoneground bread (strong) flour – white, wholemeal or a combination
340g hand warm water (about 350ml)
5g dried active yeast (nothing labelled instant, easy bake, or fast acting).
5g salt
A little (about 1tsp) oil for the baking tray
Dissolve the dried yeast in the water. Stir and leave to sit for 5-10 minutes while the yeast starts to activate and foam. Sift the flour and salt into a large bowl. Add the yeast mix and stir well until you have a sticky dough.
Cover the bowl of dough and let sit for 10 minutes.
Now it’s time to knead. The best way to knead is to stretch and fold. Stretch the dough out and then fold back on itself. Repeat until the dough is smooth and stretchy. Resist the temptation to add more flour. Knead this way for about 15 minutes.
Put your dough back into the bowl. Cover and leave to rise for about an hour or until it has doubled in size. (Note that the exact time needed will vary according to how warm or cool your kitchen is.)
While the dough is rising, lightly oil a baking tray or a loaf pan.
If you want to create a more rustic looking loaf on a baking tray, take the dough and gently stretch it out. Some people like to punch it down at this point and knead again for a few minutes. Shape into a smooth ball. Put on the tray, cover again, and leave for another 40 minutes to an hour.
If using a loaf pan, gently stretch out the dough and roll into a sausage shape, long enough to fit into the tin. Cover and leave for 40 minutes to an hour.
Halfway through the second proof (rise), preheat the oven to Gas Mark 8 or 230C.
When the dough is ready, add an egg wash if you like. Then put into the preheated oven. Bake for 15 minutes. Turn the oven down to Gas Mark 6 or 200C. Bake for another 30 minutes.
When done, remove the tray from the oven. Leave to cool on a rack before slicing.
Visit Real Bread Campaign for more recipes and breadmaking tips.